Add Docs to Your Website
TileDocs allows you to easily export your documentation as a static website and integrate it with your main product website. This guide will walk you through the process.
1
Exporting Your Documentation
- Open the "Export" menu in TileDocs.
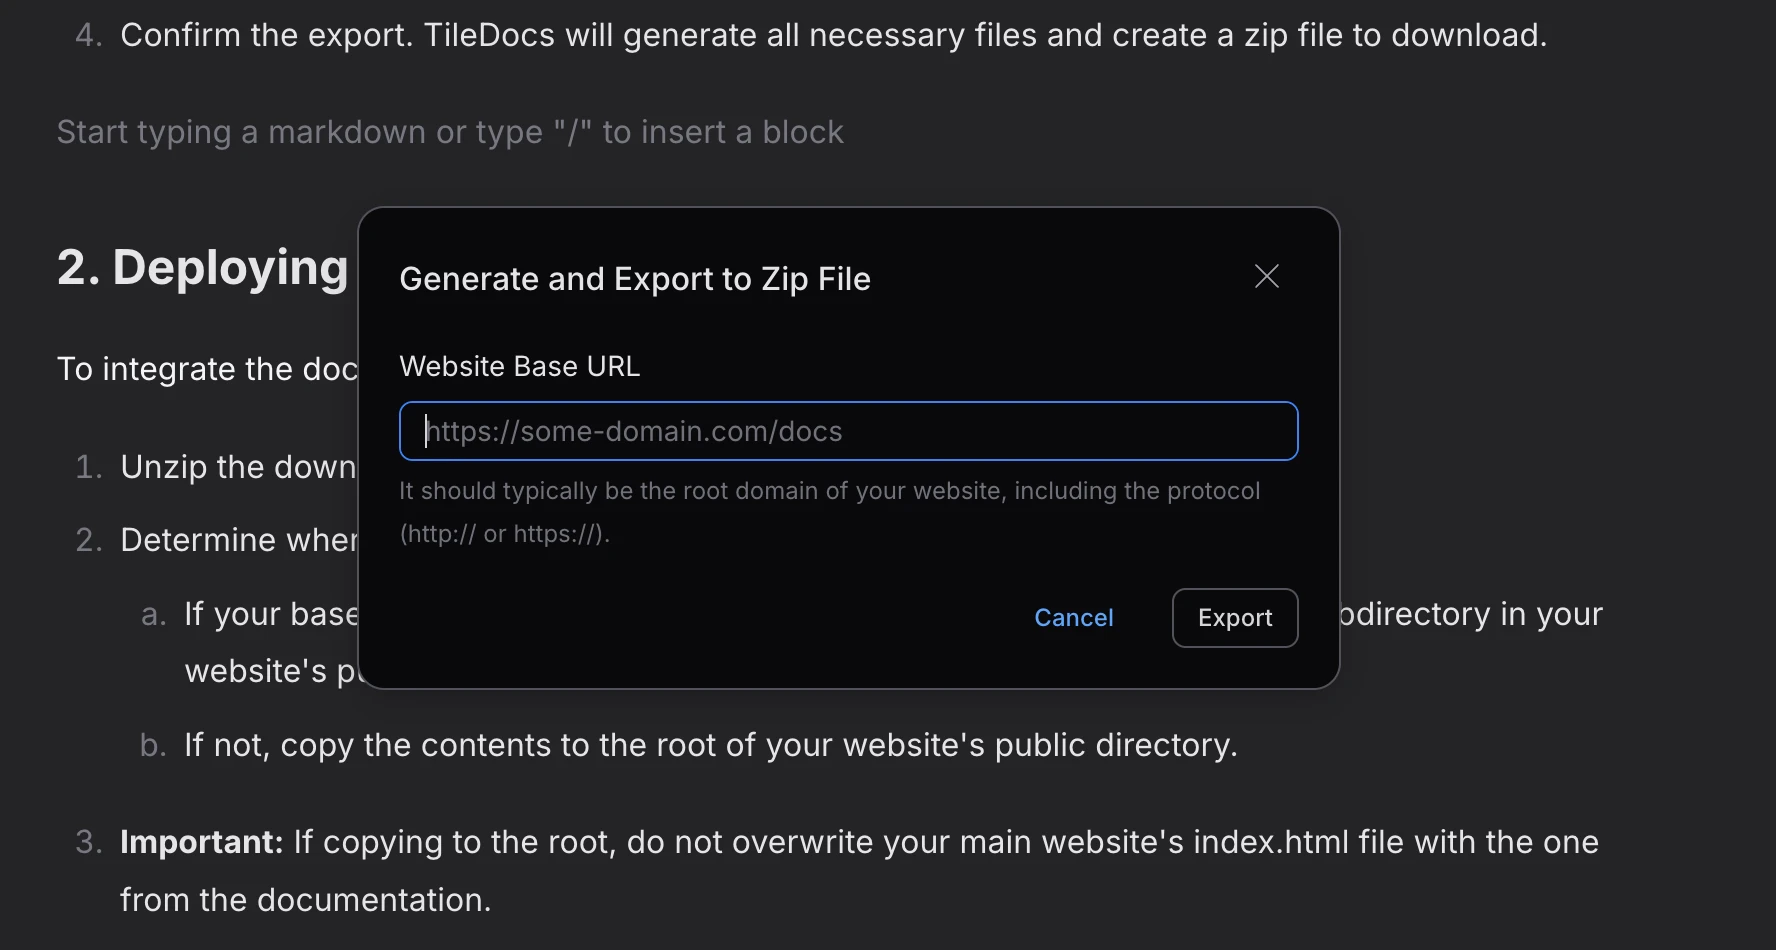
- Click on the "Export to HTML and Download as Zip File" option.
- Enter the base URL for your documentation. This should include the protocol (
http://orhttps://) and your domain name. If your documentation will be in a subdirectory, include that too. - Confirm the export. TileDocs will generate all necessary files and create a zip file to download.
Exporting Your Documentation
2
Deploying Your Documentation
To integrate the documentation with your existing website
- Unzip the downloaded file.
- Determine where to copy the files
- If your base URL includes a subdirectory, copy the entire structure to that subdirectory in your website's public directory.
- If not, copy the contents to the root of your website's public directory.
- Important: If copying to the root, do not overwrite your main website's
index.htmlfile with the one from the documentation.
3
Linking to Documentation Pages
When creating links to your documentation pages, use the directory-style format:
<!-- In the case of a direct link to the page -->
<a href="documentation/folder-1/page-1/">Page 1</a>
<!-- In the case of a link to the workspace -->
<a href="documentation/">Documentation</a>
This works because each page in the exported structure has its index.html file.
4
Handling Service Files
sitemap.xml: This file contains links to all your documentation pages. You can include it in your main website's sitemap index file.documents_[timestamp].txtandsrcidx_[timestamp].txt: Copy these files to the same location as the rest of your documentation files. They're necessary for the search functionality.